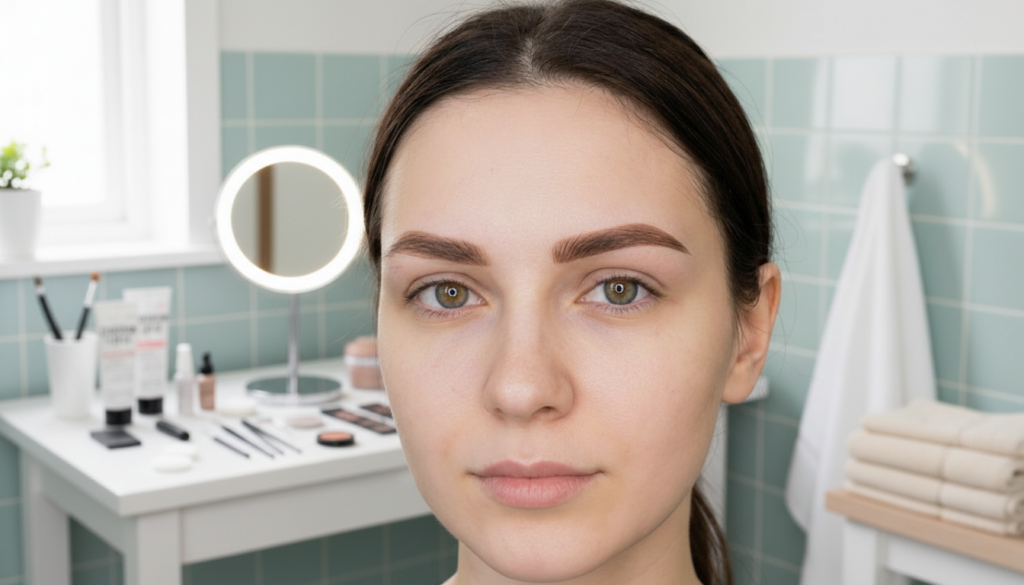
It seems like the best way to look good is to wake up with full, well-shaped eyebrows that don’t need a pencil. If you do it right, you can colour your eyebrows at home and they will last for three to six weeks. The most important thing is to be careful and precise so that your brows don’t look too dark or uneven. Instead, they should look natural, balanced, and flattering. This guide will show you how to safely and neatly colour your eyebrows at home without making a mess or spilling anything.
Why You Should Colour Your Brows at Home
Brow tinting at home is more than just easy or not having to go to the salon. Most tint kits come with enough product for more than one use, but a professional appointment usually only covers one session. When you do it yourself, you can choose how deep the shade is, how soft the front is, and what the overall shape is. The colour on brow hairs lasts for three to six weeks, but any light skin staining usually goes away in five to seven days. This makes the change smooth and gradual.
This is a big plus because it can be changed. You can change the shade or time of day whenever you change your hair colour or your makeup style changes with the seasons. This small thing can make your whole face look better, even when you’re not wearing makeup.
 Styles After 70: the “trixie cut” is promoted as a refreshing short option for spring-summer
Read Lip Shaping Technique: The Exact Pencil Method That Makes Lips Look Fuller Without Overdrawing as well.
How long does eyebrow tint usually stay on?
How long your brow tint lasts depends on your skin type, how you take care of yourself every day, and the products you use. The colour fades slowly instead of all at once because brow hairs hold onto pigment longer than skin does.
If you have dry or normal skin, you can gently clean your brows. The colour will stay defined for three to six weeks, but the stain on your skin will fade in about a week.
If your skin is oily, you swim a lot, or you spend a lot of time in the sun, the colour may fade after two to three weeks.
Heavy oils, balms, or scrubs near the brows can make the colour fade faster, especially from the skin.
Don’t use heat, rubbing, or strong cleaners on your brows that have just been coloured. The colour will last a lot longer if you take care of it.
Things to Do Before You Start
You don’t need professional tools, but having the right basic ones can help you get even colour and safer results.
A tint or gel for your brows that doesn’t have ammonia
Brand suggests developer or oxidiser
A glass or plastic mixing cup and spatula
Brow brush with a point or angle
Cotton pads and cotton swabs
To protect the skin, use thick cream or petroleum jelly.
A clean spoolie and some gloves
Toner or micellar water that is soft
A timer or a stopwatch on your phone
It’s important to be safe. Never use regular hair dye on your eyebrows. PPD (p-phenylenediamine) and other chemicals in some dyes can hurt your eyes and cause allergic reactions on sensitive skin on your face.

The Importance of a Patch Test
Before you put on any tint, put a little bit of the mixed product behind your ear or on the inside of your elbow. Don’t cover the area for 48 to 72 hours. If you notice redness, itching, swelling, or blisters, you should not use the product. This easy step stops painful and very obvious reactions around the eyes.
Seven Steps to Make Your Brows Look Like They Were Done at a Salon
Get Your Brows Ready for the Day Before you tweeze, only take out the hairs that are clearly above, below, or between your eyebrows. Don’t make the main shape of the brow smaller. Use a pencil to lightly trace the shape you want, then clean the area with micellar water to get rid of any oil and make sure the tint goes on smoothly and evenly.
Take care of the skin around your eyebrows.
Put a thin layer of thick cream or petroleum jelly along the pencil line you drew, but don’t let it touch the hairs on your brow. This barrier stops stains from happening and helps make edges that are clean and sharp.
Get the Tint Ready the Right Way
Mix about 0.5 to 0.75 inch of tint with the developer, usually in equal parts, as the package says to. Mix the ingredients together until there are no lumps and it is smooth and creamy. Choose a colour that is one or two shades darker than your natural brows. Don’t wear colours that are too dark for your hair.
Put it on the thickest parts of your brows.
Begin at the corner of your mouth that is closest to your nose. To cover each strand completely, use small strokes that go in the same direction as the hair naturally grows. As you get closer to the tail, use a little less product. Cover up all of your lighter or grey hair for a smooth finish.
Keep an eye on the clock and pay close attention to what you’re doing.
Set your timer for seven to fifteen minutes, as the brand says to do. After three to five minutes, gently comb through the inner brow with a clean spoolie. This makes the front softer and keeps it from looking harsh and blocky.
Gently take off and feed
After the recommended processing time has passed, gently wipe off the colour. Don’t scrub because it can hurt your skin and stress out your hair follicles.